Today, Samantha (My Wonderful, Fantastic, and Amazing Girlfriend) and I thought it was about time to start tackling the installation of the new steam chest cover. We stripped off the old three piece homemade copper engine cover, exhaust plumbing, pump drive, pump linkage, and engine cover. It was messy work but we got it down with only a minimal steam oil slick on the ground. We got the top of the new Steam chest cover top in place ad it looks like it should fit nicely. We'll need to enlarge the steam inlet hole slightly but that is expected given the condition of the pattern. Once the insulation arrives we'll get it all fitted up for the road.
Blog
A blog about my the history, acquisition and operation of my 1911 Model 62 Stanley Steamer.


Steam Cylinder Cover Pt. 2
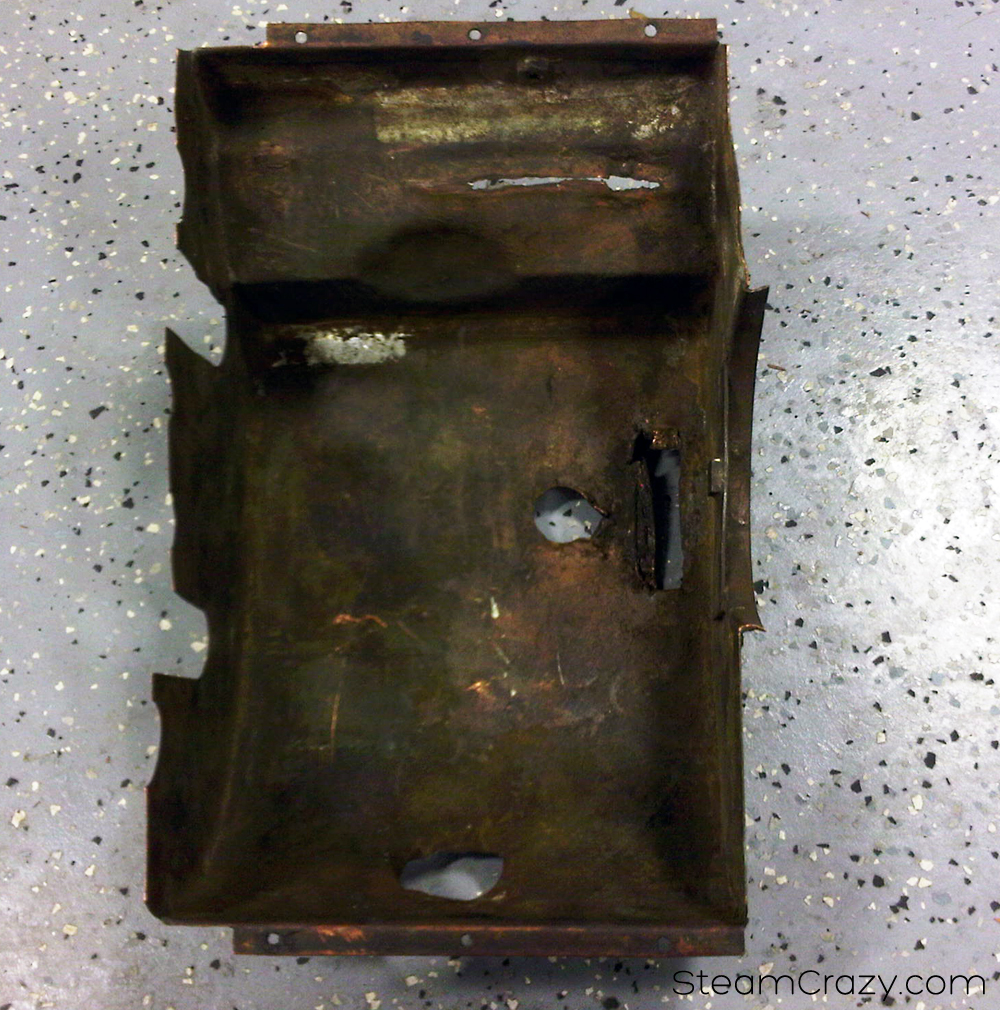
After meeting with Ed, the copper smith, and studying some pictures, I came to the conclusion that the holes cut in the bottom portion of the cover were most likely not identical to the top portion. Because I didn't have an original bottom portion to copy, I had to ask a favor of Alex Beamer, who is currently in the process of building a 1911 Model 63 Stanley. He was kind enough to send us numerous pictures and dimensions of his cover so we can proceed with the construction. As suspected, the holes for the valve and piston rods are offset towards the bottom. Thanks Alex!


Steam Cylinder Cover Pt. 1
It was brought to my attention that the steam cylinder cover on my Stanley is incorrect and lacks the ability to hold enough insulation to keep my Steam cylinder at optimal temperature. The cover on my car was obviously one fashioned back in the day without a proper pattern to copy.
I borrowed an original top half of a steam chest cover for a 10 HP Stanley from Pat Farrell. The cover is completely different from what I'm currently running and has some interesting features. I'm having a copper smith make a complete steam chest cover using this piece as a pattern.